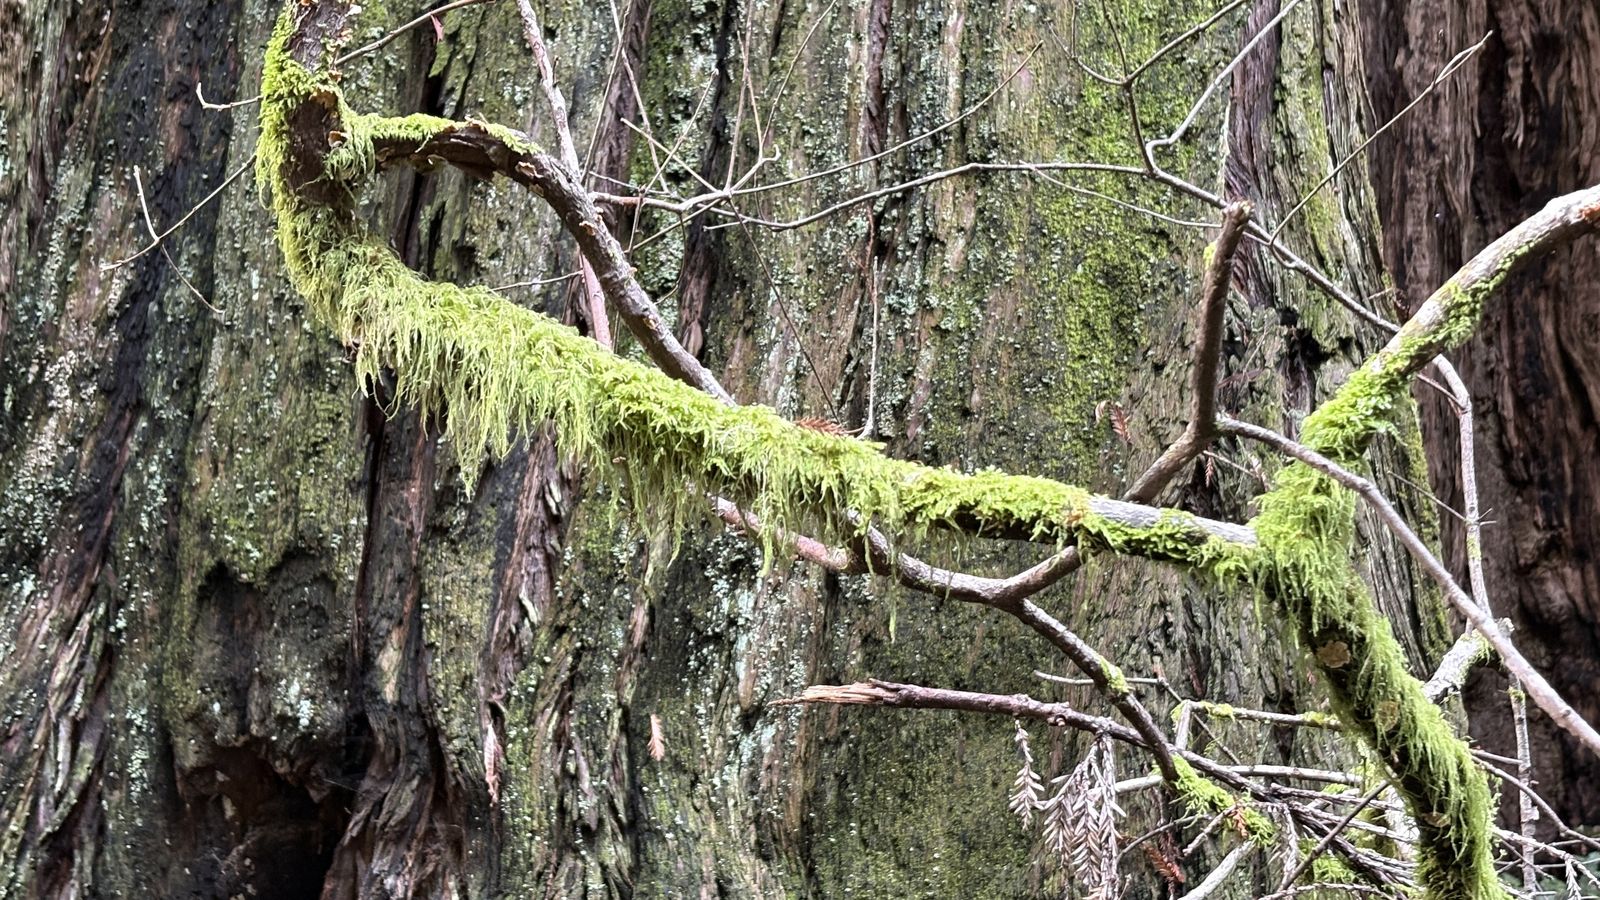
How to Photograph the Jungle
The jungle is one of the hardest places on earth to point a camera at and one of the most rewarding once you figure out how. The light is either drowning in shadow or blown out white, the air fogs your lens the second you step outside, and the thing you actually want a photo of — a toucan, a waterfall, a shaft of sun through the canopy — usually shows up for four seconds and then is gone. None of that is a reason to leave the good camera at home. It's a reason to go in knowing what you're up against and how the photographers who shoot this environment for a living actually handle it.
Why the jungle is genuinely hard to shoot
Most travel photography problems are solvable with a bit of patience and a decent lens. The jungle stacks several problems on top of each other at once, and it's worth naming them plainly before getting into fixes, because understanding why a shot isn't working is most of the battle.
The first problem is light, or the lack of it. A mature rainforest canopy can block the large majority of direct sunlight from reaching the understory, which is why the forest floor at midday can look like dusk through a viewfinder. That means slower shutter speeds, higher ISOs, or wider apertures than you'd use almost anywhere else — and often all three, stacked together, just to get a usable exposure.
The second problem is contrast. On the rare occasion the sun does punch through a gap in the canopy, it does so violently: a blinding shaft of white light next to inky black shadow, with almost nothing readable in between. Cameras handle a much narrower range of light-to-dark than the human eye does, so a scene that looks dramatic and rich standing in the forest often comes out as either a blown-out highlight or a black hole once you get home and look at the file.
The third problem is the air itself. Rainforests run hot and consistently humid, which is exactly the environment that fogs lenses, encourages fungus growth inside optics over time, and turns an ordinary afternoon shower into a genuine equipment risk. And the fourth problem is the subject: wildlife in dense forest is mostly hidden, mostly moving, and mostly backlit by that same harsh canopy light — a combination that punishes photographers who show up expecting the calm, open sightlines of a savanna.
None of this is meant to talk you out of bringing a camera. It's meant to explain why the jungle produces some of the most striking travel photography that exists — precisely because it's difficult, and because most visitors don't bother working around the difficulty. The rest of this guide is the working-around part.
The forest doesn't give you good light. You have to go find the ten minutes a day when it does — and be standing in the right spot, camera already in hand, when it happens.
Keeping your gear alive: humidity, rain and heat
Before composition, before lenses, before any of the fun parts — the single most important skill in jungle photography is not destroying your camera. Heat and humidity are a slower, less dramatic threat than a downpour, but they're the one that actually ruins more gear over the course of a trip. Constant moisture in the air, especially when a camera or lens sits unused in a bag for a day or two, is exactly the condition that lets fungus take hold inside a lens barrel — a genuinely common failure mode for cameras that spend extended time in tropical climates, and one that isn't always fixable once it's established.
The fix is boring and it works: store your camera body and each lens in its own sealed bag with a few silica gel desiccant packets whenever you're not actively shooting, especially overnight. Color-indicating silica gel is worth the extra dollar or two — it visibly changes color as it saturates, so you know when to swap it out or dry it in the sun rather than trusting a packet that's stopped doing anything days ago. If your accommodation has air conditioning, that's useful for you and slightly risky for your gear: moving a cold camera into hot, humid outside air is the classic way to fog a lens from the inside, as condensation forms the instant cold glass meets warm, wet air. Give the camera time to acclimate in a sealed bag before opening it up outside, the same way you'd let a cold soda can sweat before opening it.
Rain is the more obvious threat and the easier one to plan for. A proper rain cover for your camera and lens is worth packing even if you're staying somewhere with covered walkways and porches, because jungle weather changes fast and a clear morning can turn into a downpour with almost no warning. A simple dry bag or even a couple of gallon-size resealable bags with a hole cut for the lens will get you through a sudden shower in a pinch. Lens cloths, more than one, are non-negotiable — condensation and humidity mean you'll be wiping down the front element constantly, and a single damp cloth stops being useful about an hour into a hike.
Good to know
Sweat is as much a threat to gear as rain is, and it's the one people forget about. A camera strap around a sweating neck for six hours, or a body handled with damp hands after a humid hike, introduces moisture just as effectively as a shower does. Wipe your hands and the camera body down periodically, and consider a lightweight microfiber wrap around the grip if you're prone to sweaty palms — a surprisingly common, low-tech fix that guides in the Amazon and Southeast Asia both mention as standard practice.
Reading jungle light
The single highest-leverage habit in jungle photography is showing up at the right time, not owning the right gear. Early morning and late afternoon — the hour or so after sunrise and before sunset — is when jungle light actually cooperates: the sun sits low enough to slip in under the canopy at an angle instead of blasting straight down through the gaps, and wildlife tends to be more active during these cooler windows anyway, which means better light and better subjects arrive together.
Midday is the hardest light of the day almost everywhere, but it's especially unforgiving in dense forest, where the sun straight overhead creates the harsh shaft-and-shadow contrast covered above. If you're stuck shooting at midday — which happens, since jungle activities don't always align with golden hour — look for spots under a fuller, more even canopy rather than a broken one; diffused, shaded light across an entire frame photographs far better than a single blinding shaft next to black shadow. Overcast days, which are common in most rainforest climates, are quietly one of the best conditions you'll get: the cloud cover acts like a giant softbox, evening out the light across the whole scene and making colors — the greens especially — read far more accurately than they do under harsh sun.
Fog and mist, common in cloud forest and higher-elevation jungle in particular, are worth actively chasing rather than waiting out. They soften the same harsh light that's normally a problem, add depth and separation between layers of forest that otherwise blend into a wall of green, and tend to burn off within an hour or two of sunrise — which is exactly why an early start matters as much for landscape shots as it does for wildlife.
Building a jungle-ready kit
You don't need to buy your way into good jungle photos, but a few pieces of gear genuinely change what's possible, and it's worth being deliberate about what you pack rather than bringing everything you own.
Camera body
Weather sealing matters more here than almost any other travel environment — a body rated for dust and moisture resistance buys real peace of mind on a humid, rainy multi-day hike. That said, a well-protected non-weatherproof camera in a good rain cover will survive a jungle trip too; sealing reduces risk, it doesn't eliminate the need for the habits in the section above.
Lenses: the two you actually need
A wide-to-mid zoom, something in the 24–70mm range, covers lodges, trails, canopy walkways and the wide forest scenes that make up most of a trip. A longer telephoto, in the 300–600mm range, is what actually gets you usable wildlife and bird shots — canopy-dwelling animals and birds are typically too far away, too high, or too shy for anything shorter to do them justice. If you can only bring one long lens, something in the 100–400mm range is a workable middle ground that still handles most birds and mammals at a lodge's usual sighting distances without the bulk of a full 600mm prime.
Fast glass for low light
Because canopy light is so often dim, a lens with a wide maximum aperture — f/2.8 to f/5.6 — earns its keep by letting in more light without pushing ISO into visibly noisy territory. This matters more under a forest canopy than in almost any other travel photography scenario, where you'd typically stop down for depth of field instead.
Tripod or monopod
Essential for the long-exposure waterfall and river shots covered below, and genuinely useful for low-light interior and dusk shots too. A full tripod is heavier to carry on a multi-day trek than most travelers want; a lightweight travel tripod or a monopod is a reasonable compromise if pack weight is tight.
The unglamorous essentials
- A rain cover for camera and lens, even if you're mostly staying at a covered lodge.
- A dry bag or two, and several silica gel packets, ideally color-indicating.
- More lens cloths than feels necessary — you will use all of them.
- Spare batteries: heat and humidity drain batteries faster than temperate climates, and charging opportunities at remote or off-grid lodges can be limited.
- A headlamp with a red-light mode for pre-dawn setups and night walks, which doesn't spook wildlife or wreck your own night vision the way a white beam does.
- A dust and rain-resistant camera bag rather than one that just looks the part.
If you're weighing what else to bring beyond the camera bag, our guide to what to pack for a jungle trip covers the rest of the kit — clothing, footwear, first aid — that a photography-focused packing list like this one deliberately leaves out.
Photographing wildlife and birds
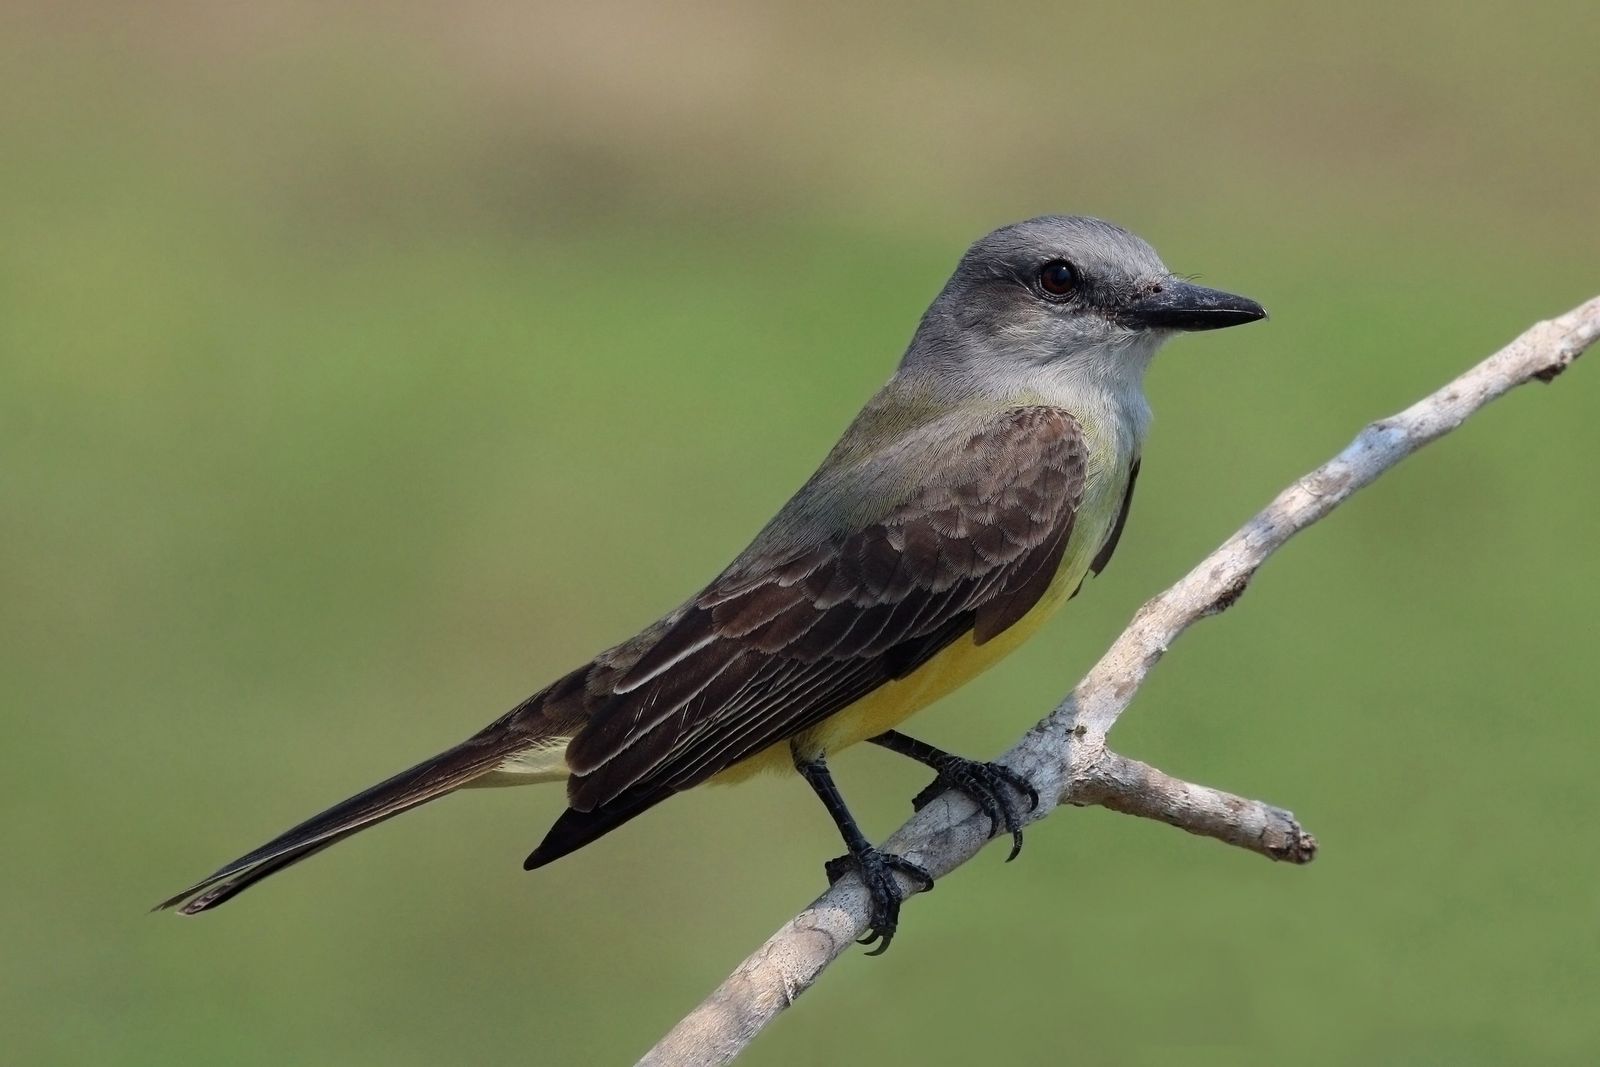
Wildlife photography in a rainforest rewards patience over gear more than any other genre of travel photography. Animals in dense forest are often heard well before they're seen, and the photographers who come home with the shot are usually the ones who stopped walking, sat still, and waited — not the ones who covered the most ground.
A local guide is worth more here than almost anywhere else in travel photography. Guides in serious wildlife destinations know which fruiting tree is drawing toucans this week, which riverbank a caiman has been sunning on, and how to spot the tell-tale movement of a sloth that would otherwise register as just another cluster of leaves to an untrained eye. That local knowledge routinely closes more distance to a usable shot than an extra 200mm of lens would.
Certain sites are built almost entirely around this kind of patient, planned wildlife photography. Peru's Tambopata National Reserve is one of the best-known examples: its clay licks draw hundreds of macaws and parrots at dawn to feed on mineral-rich clay, and photographers who arrive roughly ninety minutes before sunrise catch the birds descending in the day's best light, with warm early sun catching the feathers as they land. It's a good illustration of the broader rule — the best jungle wildlife photography is scheduled around the animal's routine, not the photographer's convenience.
Practical technique
- Use continuous autofocus and a fast shutter speed — 1/1000s or faster — for anything moving through foliage, since branches and leaves in the foreground can pull focus away from your subject.
- Shoot in short bursts rather than single frames; a bird's head position and wing angle change fast, and a burst gives you a real choice of frames afterward instead of one gamble.
- Expose for the animal, not the scene. A backlit bird against bright canopy gaps will often read as a silhouette on your camera's default metering — dial in positive exposure compensation, or spot-meter directly on the subject.
- Stay quiet and still longer than feels necessary. Most jungle wildlife habituates to a calm, motionless presence within minutes; it flees from movement and sudden noise, not from proximity itself.
- Never bait, call in, or otherwise disturb an animal for a photo. Responsible guides and lodges don't do it, and neither should you — a photo isn't worth stressing a wild animal or altering its natural behavior.
Good to know
A monopod is a genuinely underrated tool for wildlife photography specifically, because it lets you keep a heavy telephoto lens steady and ready for long stretches without the setup time a full tripod requires when an animal appears without warning — which, in the jungle, it usually does.
Waterfalls and rivers: getting the silky-water shot
Almost every serious jungle destination has a waterfall or river worth photographing, and it's one of the few subjects in this environment that rewards a deliberate, technical approach rather than reactive shooting. The classic look — smooth, silky-white moving water against sharp, static rock and foliage — comes from a slow shutter speed, typically somewhere between a quarter-second and two seconds depending on how fast the water is actually moving.
The problem is that jungle waterfalls are usually shot in daylight, and daylight is far too bright to expose properly at those shutter speeds without help. That's what a neutral-density (ND) filter is for: a darkened piece of glass or resin that screws onto the front of your lens and cuts the amount of light reaching the sensor, letting you use a much slower shutter speed than the ambient light would otherwise allow. A 6-stop ND is the most practical starting point for jungle waterfall work — strong enough to stretch a bright daylight exposure down into the silky-water range without needing the extreme 10-stop-plus filters that landscape photographers reach for in full midday sun.
A working waterfall setup
- Mount the camera on a tripod — long exposures handheld simply don't come out sharp, no exceptions.
- Set aperture to f/8–f/11, where most lenses are sharpest, and ISO to its lowest native setting (usually ISO 100).
- Add the ND filter and dial in a shutter speed between roughly a quarter-second and two seconds, checking the result and adjusting — faster for a churning, powerful falls, slower for a gentler cascade.
- Use a two-second timer or a remote release rather than pressing the shutter button directly, which introduces just enough shake to soften an otherwise sharp long exposure.
- Watch the foliage in your frame, not just the water. Jungle waterfalls are usually surrounded by leaves and branches that move in the slightest breeze, and a long exposure will blur them too — sometimes beautifully, sometimes just messily. Recompose to minimize wind-prone foliage in the frame if it's fighting the shot.
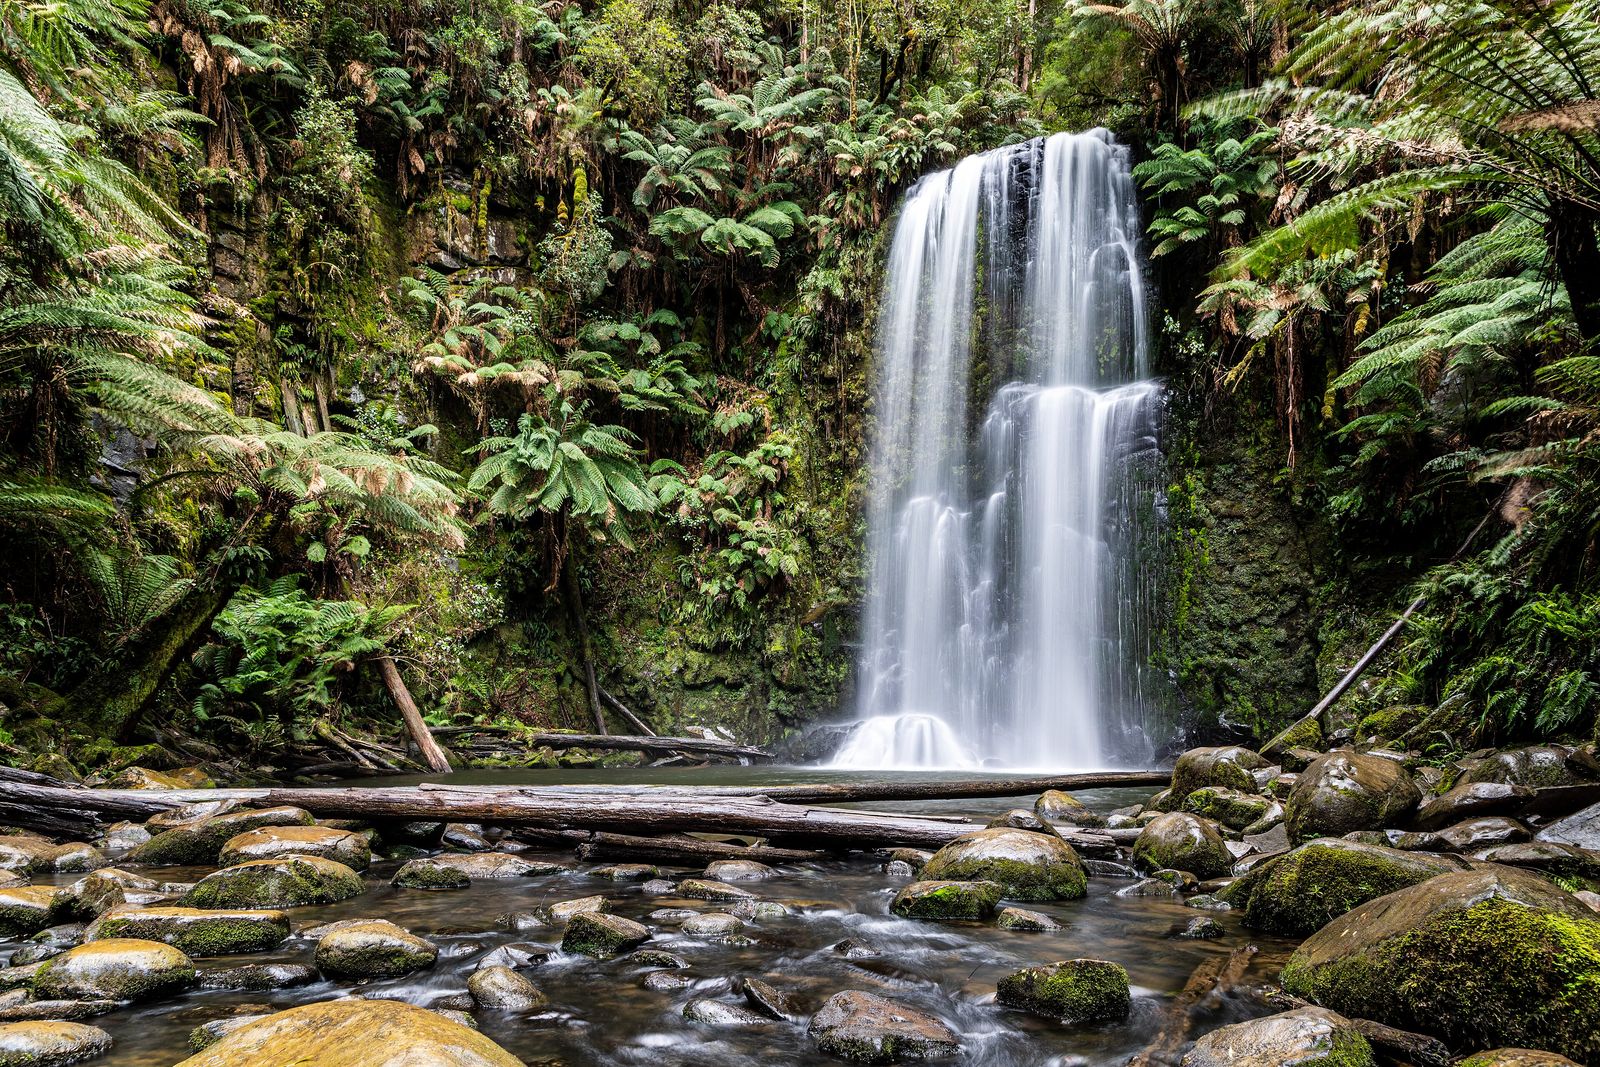
If you don't have an ND filter, don't skip the shot — an overcast day or a waterfall sitting deep in forest shade often has little enough ambient light that you can get a usable slow shutter speed without one, especially early or late in the day. It's one more reason the golden-hour habit from earlier in this guide pays off across almost every kind of jungle photography, not just wildlife.
The small stuff: macro, canopy and the forest floor
It's easy to spend an entire jungle trip pointed up and out — at birds, at canopy, at waterfalls — and come home having missed what's often the most photogenic scale of the whole ecosystem: the small stuff. Frogs, insects, fungi and the almost unreasonable variety of leaf shapes and textures on the forest floor are some of the most rewarding subjects in the entire environment, and they don't require chasing anything or waiting for an animal to show up.
A dedicated macro lens is the obvious tool here, but it isn't required — many standard zooms have a reasonably close minimum focusing distance that gets you most of the way there, and a cheap set of macro extension tubes is a lightweight, inexpensive way to convert an existing lens into something closer to true macro without buying a new one. What matters more than the gear is technique: get low, get close, and pay attention to background. A frog or insect shot against a cluttered tangle of leaves reads as noise; the same subject against a smooth, softly blurred green background reads as a proper portrait. A wide aperture helps blur that background, but so does simply choosing an angle that puts more distance between your subject and whatever's behind it.
Canopy walkways and observation towers, where available, are worth the extra time even if you're not chasing a specific animal. They flip the entire visual logic of the forest — instead of looking up through layers of leaves at a sliver of sky, you're looking out and down across the top of the canopy itself, which is a genuinely different, often more photogenic vantage point than anything available from the ground. Early morning is especially good here, since mist tends to sit in the canopy folds at that hour and burns off within an hour or two of sunrise.
Composing in a visually crowded place
The jungle's biggest compositional challenge is that it's visually dense almost everywhere you point a camera — leaves, vines, trunks and shadow all competing for attention in a frame that has no obvious focal point. A few habits consistently help.
Find the negative space
A clearing, a patch of open sky between branches, a stretch of calm water — any bit of visual quiet gives the eye somewhere to rest and makes the busy parts of the frame read as intentional rather than chaotic. Actively look for these gaps rather than framing whatever's directly in front of you.
Use light as your subject
When a genuine shaft of sun does break through the canopy, it's often the most compelling subject available on its own, independent of whatever else is in the frame. A single beam of light cutting through mist or dust in an otherwise dark forest is one of the most reliably striking jungle images there is, and it needs almost nothing else in the composition to work.
Use trails, rivers and boardwalks as leading lines
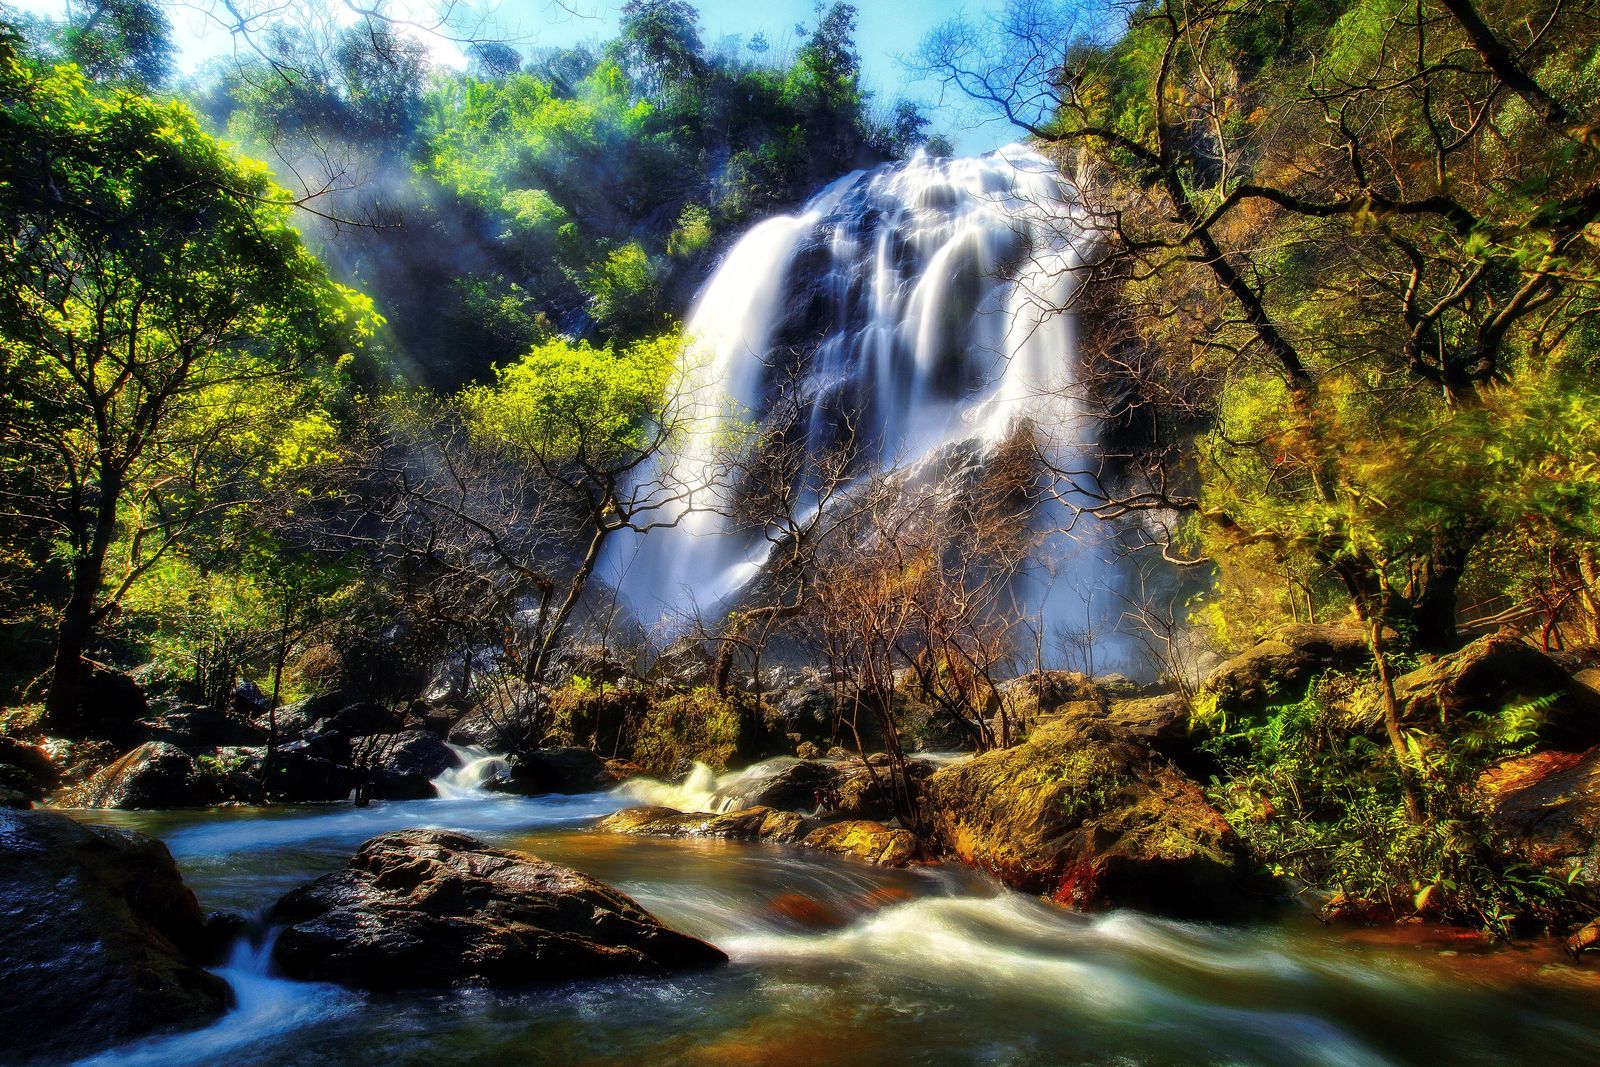
A path curving away into the forest, or a river bending out of frame, gives a composition a sense of depth and direction that a flat wall of green foliage doesn't. These features are common on almost every jungle property's grounds and hiking trails, so they're rarely hard to find — just worth actively looking for rather than shooting straight ahead.
Shoot silhouettes at the edges of the day
Right at sunrise or sunset, backlit branches, wildlife and even other travelers on a trail can be shot deliberately as silhouettes against a bright sky — a technique that sidesteps the whole high-contrast problem covered earlier by embracing it instead of fighting it. Expose for the sky, let the foreground go dark, and you've turned the jungle's harshest lighting condition into a strength.
Don't ignore the people
A guide pointing something out, another traveler on a canopy walkway, a host serving breakfast on a screened porch — these human moments give a jungle photo set scale and warmth that pure landscape and wildlife shots can't provide on their own, and they're usually the images that get the most engagement when you share the trip afterward.
Region-by-region notes
"The jungle" covers a lot of different light, terrain and wildlife, and a little region-specific knowledge sharpens all of the general advice above.
Costa Rica is one of the more forgiving places to start, with a well-developed ecotourism industry, canopy walkways and observation towers at many lodges, and reliably active wildlife around dawn in destinations like the Osa Peninsula's Corcovado National Park, one of the largest remaining stretches of primary Pacific-coast rainforest in Central America. Guides here are used to working with photographers specifically, which speeds up finding wildlife worth shooting.
Peru's Amazon basin, particularly around Tambopata, is one of the best-documented wildlife photography destinations in the world, built around the early-morning clay-lick routine covered above. Bring the longest telephoto you're willing to carry; distances to wildlife here are often greater than in Central American lodges.
Brazil offers two very different jungles for photographers: the Atlantic-forest coast near Rio and São Paulo, more accessible and more varied in terrain and light, and the Amazon around Manaus, where river-based photography — boats, flooded forest, river dolphins — is the dominant style rather than trail-based wildlife shooting.
Bali pairs jungle photography with rice terraces, waterfalls and temple architecture in a way few other jungle destinations do, which makes it a strong choice for photographers who want variety within a single trip rather than deep wildlife specialization.
Sri Lanka's rainforest and hill country, especially around Sinharaja, rewards the same patient, guide-led approach as Costa Rica and Peru, with the added advantage of some of the more accessible primate and bird photography in South Asia.
Wherever you land, the fundamentals hold: protect your gear from the humidity, shoot the first and last hour of light hardest, and let a local guide's knowledge of the forest do work your camera can't. For a fuller sense of where these regions fit into a broader trip, the full destinations directory is worth browsing before you settle on where to go.
Common questions
Do I need a weatherproof camera for jungle photography?
It helps but isn't strictly required. A non-weatherproof camera protected with a rain cover, stored in sealed bags with silica gel when not in use, and handled carefully around sudden downpours will survive a jungle trip. Weather sealing reduces risk; it doesn't remove the need for the humidity and rain habits covered in this guide.
What's the single most useful lens for jungle wildlife?
A telephoto in the 300–600mm range does the most work for birds and mammals, which are typically too far, too high, or too shy for a standard zoom to capture well. If you can only bring one long lens, something around 100–400mm is a reasonable middle ground for most lodge-based wildlife sightings.
How do I stop my lens from fogging up?
Most fogging happens when a cold camera — usually one that's been in an air-conditioned room or vehicle — meets hot, humid outside air. Let the camera acclimate inside a sealed bag for several minutes before opening it up in the heat, and keep a few silica gel packets in your camera bag to manage humidity throughout the day.
Is a tripod worth carrying on a jungle hike?
For waterfall and low-light shots, yes — long exposures simply aren't sharp handheld. If a full tripod is too much weight for a multi-day trek, a lightweight travel tripod or monopod is a reasonable compromise that still covers most of what you'll need it for.
What's the best time of day to shoot in the jungle?
Early morning and late afternoon, for the same two reasons every time: the light comes in at an angle instead of blasting straight down through canopy gaps, and wildlife is generally more active in the cooler hours right after sunrise and before sunset.
Can I get good jungle photos with just a phone?
You can get good wide, landscape and canopy shots with a modern phone camera, especially in decent light. Wildlife and bird photography is where phones fall short — the digital zoom needed to reach a distant animal degrades quickly, and a real telephoto lens has no real phone substitute yet for that specific job.
None of this requires professional gear or a background in photography — it requires showing up at the right hour, protecting what you brought from the humidity, and being willing to sit still longer than feels natural while the forest does its thing around you. The photographers who come home with a memory card full of jungle images they're actually proud of are rarely the ones with the most expensive kit; they're the ones who treated patience as part of the gear list. If you're still deciding where to point that camera, our guides on the best jungle Airbnbs in the world and how to book a jungle Airbnb are good next stops, and if you're weighing a more remote, off-grid stay for the sake of darker skies and quieter wildlife, our off-grid jungle stays guide covers what that trade-off actually looks like day to day.
- Nature TTL — Using Cameras in Tropical & Cold Environments — humidity, condensation and lens-fogging guidance for tropical shooting.
- Fstoppers — 5 Ways to Protect Your Camera in High Humidity Conditions — silica gel, sealed storage and condensation-avoidance practices.
- Photography Life — How to Protect Your Camera in Humid Conditions — fungus risk in lenses and long-term humidity storage guidance.
- Mistico Park — 11 Tips for the Best Costa Rica Wildlife Photography — canopy light, telephoto lens use and Osa Peninsula/Corcovado wildlife photography notes.
- Peru Explorer — How to Photograph Wildlife in Peru's Various Ecosystems — Tambopata clay-lick timing and Amazon wildlife photography guidance.
- Photography Life — How to Photograph Waterfalls — shutter speed, aperture and ISO settings for long-exposure waterfall photography.
- MIOPS — A Beginner's Guide to Shooting Long Exposure Waterfall Photographs — ND filter strengths (3-stop vs. 6-stop) and exposure-time guidance.
- ItsJustLight.com — Rainforest and Jungle Photography Tutorial & Tips — canopy light, lens speed (f/2.8–f/5.6) and gear-management practices for forest shooting.
More from the Journal.
How to Start a Jungle Airbnb
The complete, honest guide to building and running a treehouse, bamboo house or rainforest villa — from choosing a country and the land laws to off-grid systems, budgets, and getting booked.
 Photo: Gregory Heath, CSIRO, CC BY 3.0
Why Jungle Stays Are Booming
The data behind the treehouse boom: four shifts in how the world travels are all converging on the forest — and it looks structural, not a fad.
 Photo: Vyacheslav Argenberg, CC BY 4.0
When to Visit the Jungle: A Season-by-Season Guide
There's no single best time to visit 'the jungle' — because it isn't one place. Here's when to go, region by region, with a month-by-month cheat sheet.
 Photo: Derek Ramsey (Ram-Man), CC BY-SA 4.0
Find your own piece of the canopy.
Treehouses, bamboo houses and rainforest villas across 17 destinations — found, vetted and written up honestly.
Browse all destinations